How to Run the Demo Software
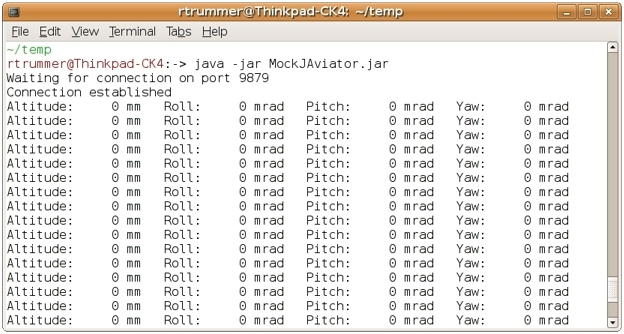
1. Starting the MockJAviator
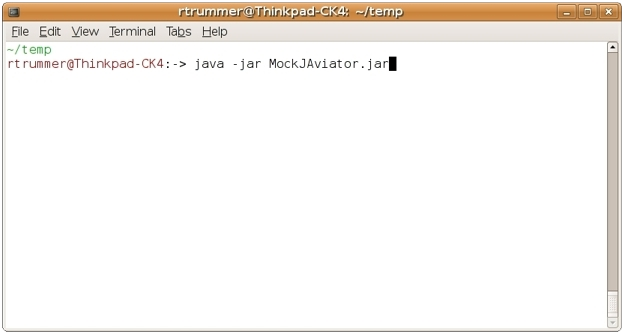
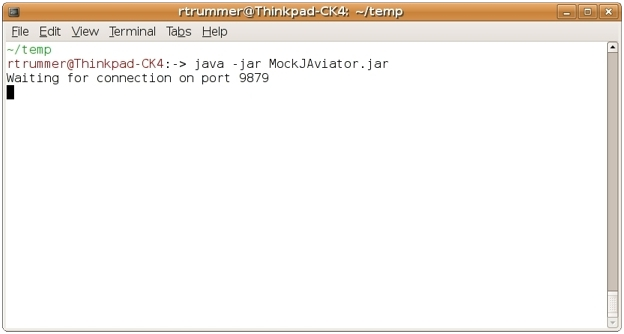
Extract the downloaded archive to an arbitrary directory of your choice, change to that directory, and start the MockJAviator helicopter simulation program using the following command.
The program indicates its readyness by waiting until someone connects to the specified port.
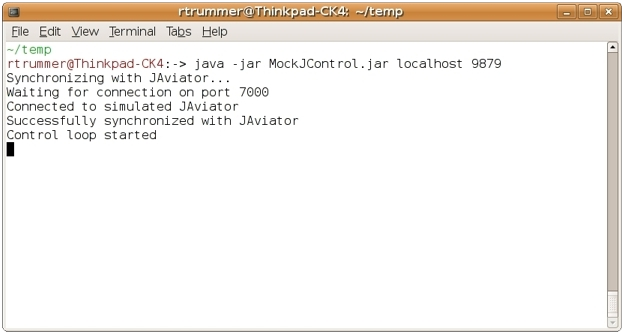
2. Starting the MockJControl
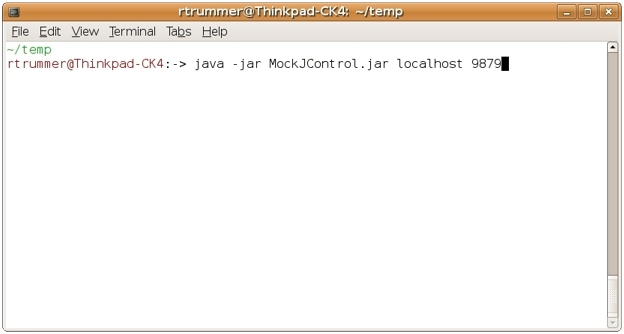
Open another terminal window, change to the directory containing the JAR files, and start the MockJControl helicopter control program using the command shown below. Note that the term 'localhost' is used in the present case for specifying an IP address, because the control program is executed on the same machine as the simulation program. If you want to run the control program on a different machine, then you need to specify the IP address of the machine where the simulation program is executed.
Upon connecting and successfully synchronizing with the simulated JAviator, the control program starts the control loop.
After the connection has been established, the simulation program starts sending sensor data to the control program and prints the simulated altitude, roll, pitch, and yaw values.
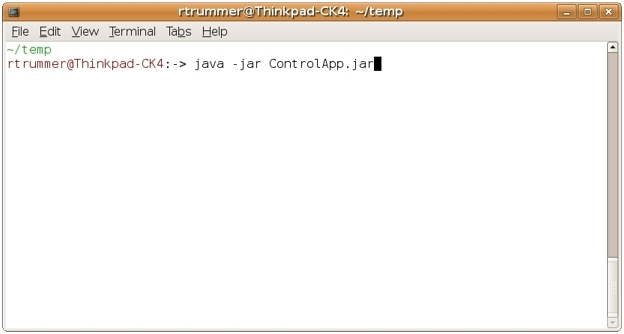
3. Starting the Control Terminal
Open another terminal window, change to the directory containing the JAR files, and start the Control Terminal application using the following command.
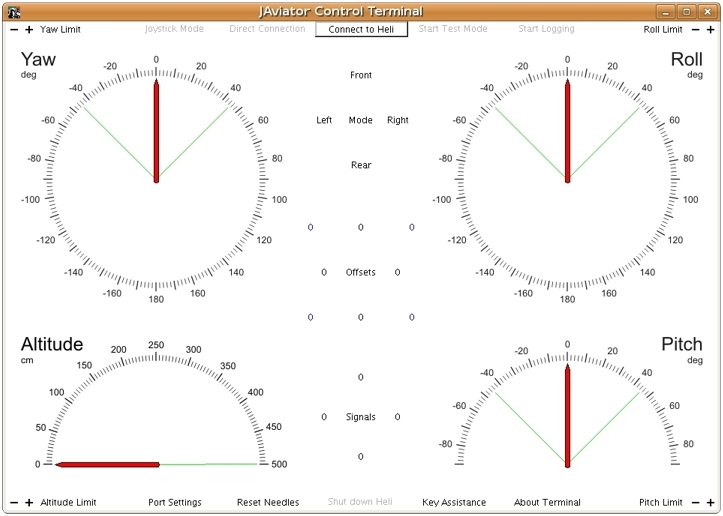
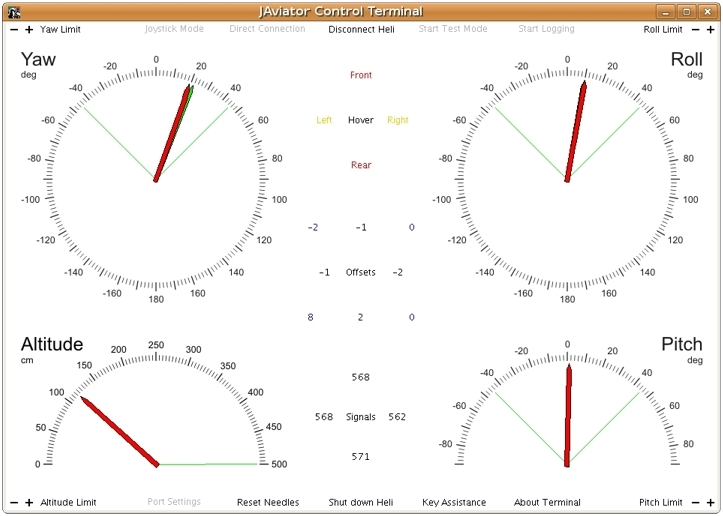
The Control Terminal displays attitude and altitude data for both the received sensor data, indicated by red needles, and sent navigation commands, indicated by green needles (covered by the red needles in the next screenshot). The gauges are arranged to meet the general stick assignment of standard R/C consoles, i.e., the left hand controls yawing and the altitude, whereas the right hand controls rolling and pitching. The thin green needles indicate the chosen navigation-command limits for the gauges. They are especially useful when operating with a joystick since they map the selected range to the control range of the stick. The top panel of the middle column displays the current helicopter mode, i.e., ground, ascend, hover, descend, or halt in case of a shut-down. In addition, it indicates the current controller operation, i.e., front, right, rear, and left turning yellow whenever the yaw deviation exceeds +/-1.5 degrees, as well as front and rear and/or right and left turning red whenever the roll and/or pitch deviation exceeds +/-1.5 degrees. The diamond-arranged numbers of the center panel show the motor offsets, i.e., the difference between the current and the previous motor signals, whereas the square-arranged numbers show the individual portions generated by the four controllers, i.e., left-top: yaw contribution, right-top: roll contribution, right-bottom: pitch contribution, and left-bottom: altitude contribution. The bottom panel displays the current motor signals assigned to the four motors.
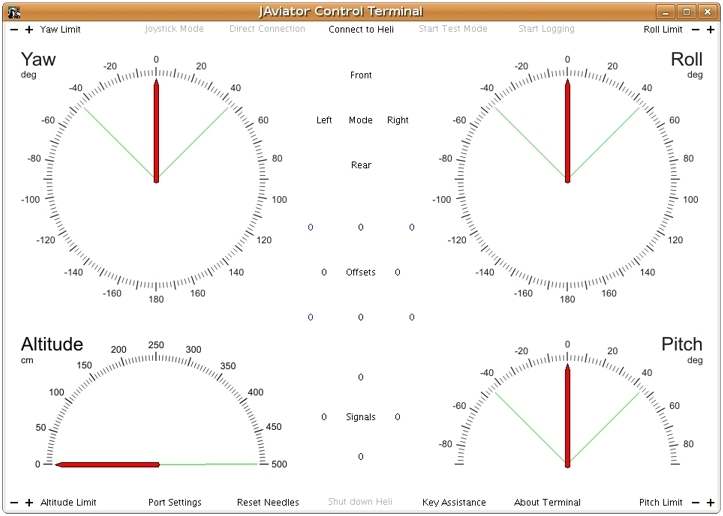
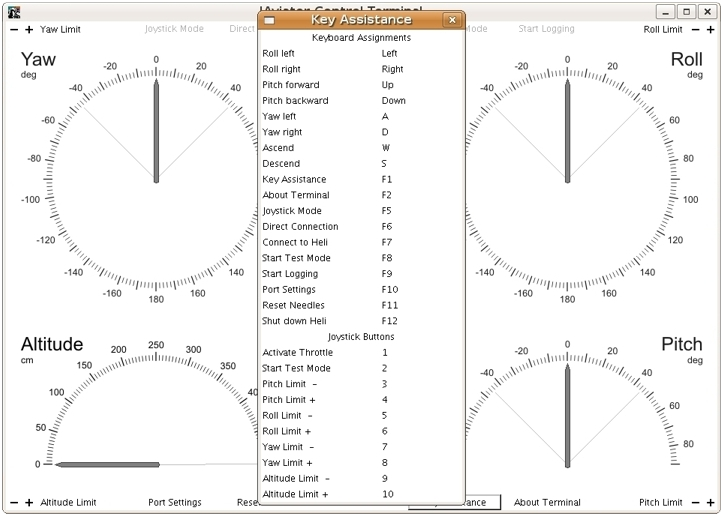
It might be helpful to make yourself familiar with the key assignments of the Control Terminal, since they might differ slightly from key assignments used in commercially available flight simulators. For this purpose, simply click the 'Key Assistance' button.
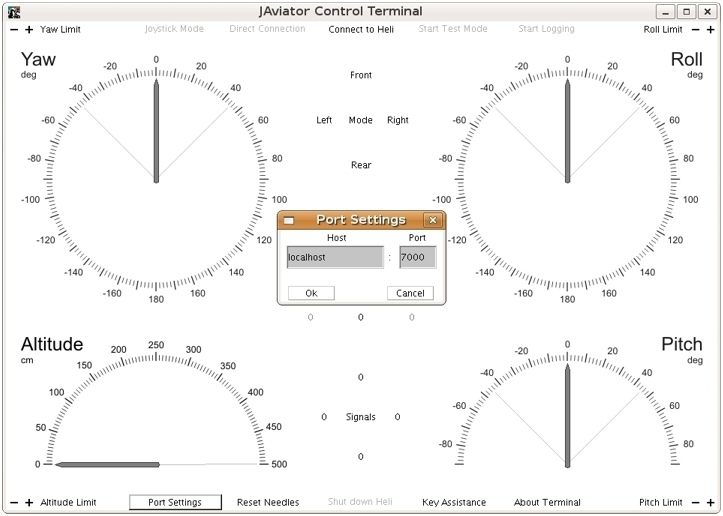
If you have started the Control Terminal application on a different machine than the one where you execute the helicopter control program, then you need to specify the IP address of the machine running the control program. In this case, click the 'Port Settings' button and replace 'localhost' in the port-settings dialog with the correct IP address.
Now click the 'Connect to Heli' button and let the Control Terminal try to establish a connection to the control program. If successful, the button displays 'JAviator connected' and afterwards changes the label to 'Disconnect Heli', otherwise, in case of a failure, the button flashes three times 'Connection failed' and keeps the original label.
4. Issuing Navigation Commands
After the Control Terminal application is connected to the helicopter control program, you can start your flight by setting the desired altitude.
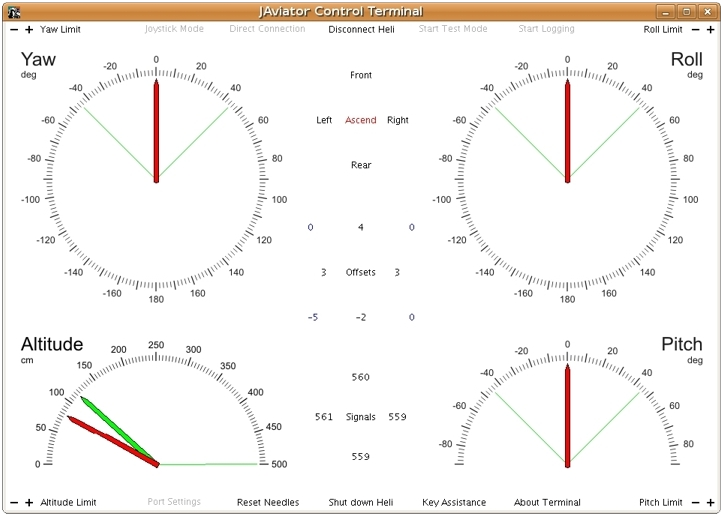
Wait until the helicopter has reached the hover mode, indicated by the top panel of the middle column, then start issuing arbitrary navigation commands for the roll, pitch, and/or yaw angle.
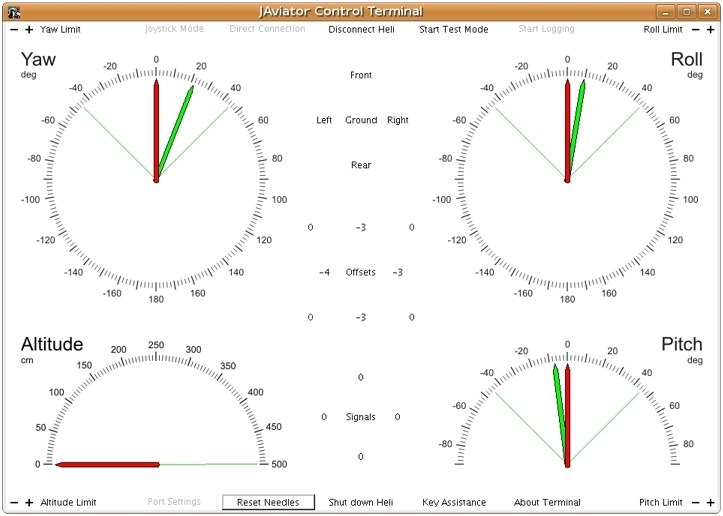
Upon landing the red needles are set back to zero automatically via the helicopter simulation program, whereas the green needles keep your settings. If you want them to take their original positions, simply click the 'Reset Needles' button.
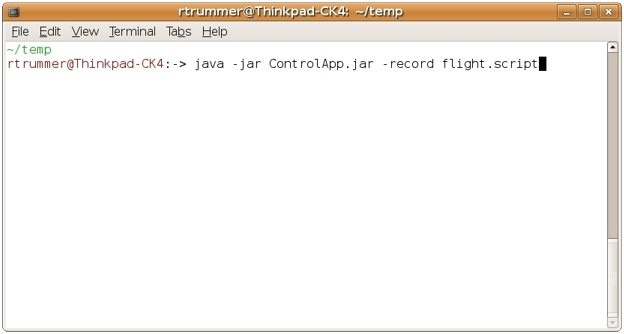
5. Recording/Replaying a Flight Scenario
The Control Terminal allows you to record and replay individual flight scenarios. This is especially useful when tweaking the controllers, because a specific flight scenario can be reproduced over and over without any discrepancies. To record a flight, start the Control Terminal application with the additional parameter '-record' followed by an arbitrary file name for recording the issued navigation commands. Recording starts as soon as you click the 'Connect to Heli' button and stops with clicking it again, assuming the connection could be established successfully.
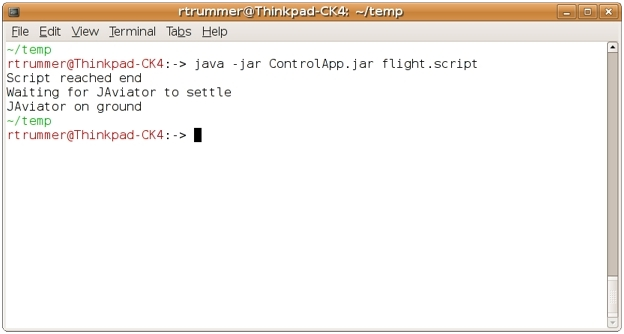
For replaying the recorded scenario restart the Control Terminal application with the same file name, but this time omit the '-record' parameter.
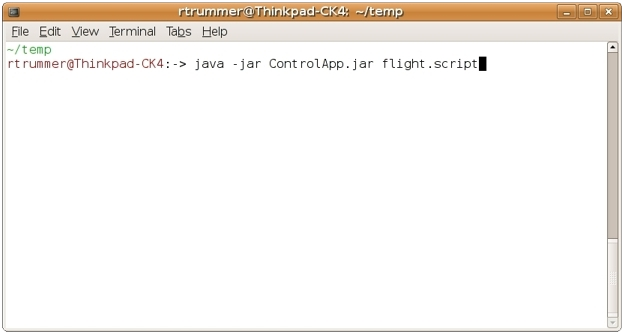
Upon completion of replaying the recorded scenario, the Control Terminal application prints the final status and closes itself.